
Copyright 2011. figNoggle Designs.
7x10, 7x12, 7x14 Mini-Lathe Information
Website Links
Post a link to your website or view other hobby and machine and metalworking websites for free.
|
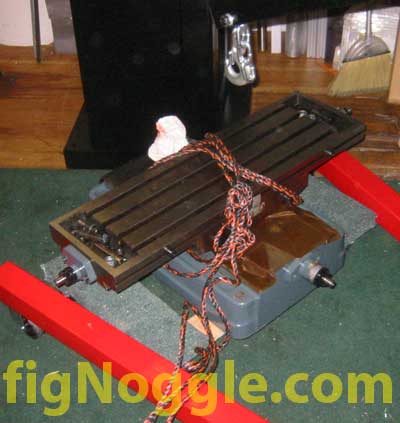
Rent Mill & Lathe DVDs at Smartflix | Great aluminum & steel prices at OnlineMetals Enco 20" 1PH Square Column Geared Head Mill Drill (aka Rong-Fu 45 Mill Clone) - Re-assembly Disassembly was performed with three people and an engine hoist. Re-assembly was fairly easy to perform with just one person. It would have gone faster but wanted to see how things would fair with a lone-person installation. We first took the base and table combo and put it on the Harbor Freight furniture dolly which was recently on sale for $15 or so. It's rated for 1000#, so we're OK here. The dolly is straddled by the engine hoist's long legs:
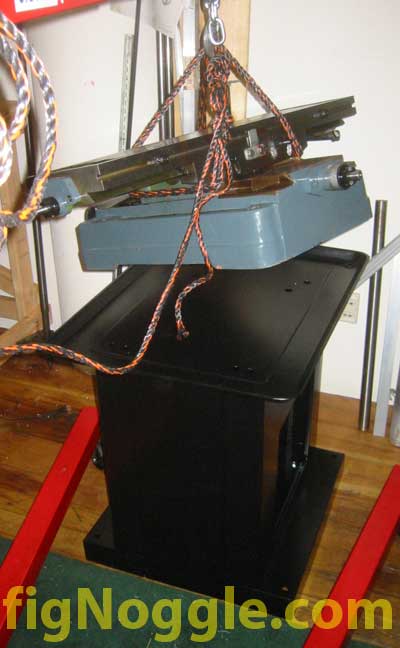
It was lifted with ease to the top of the drip pan on the mill/drill stand and lowered. Note that the legs of the engine hoist also clear the stand with no problems:
Next up, the column. It's also placed on the dolly and maneuvered for easy lifting by the engine hoist:
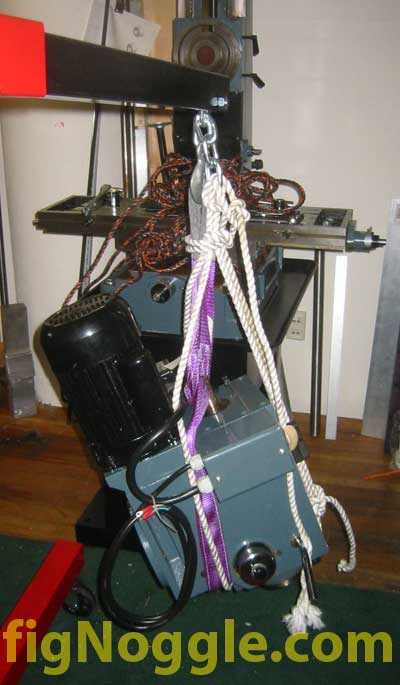
Notice here that the rope is double-looped just at the top of the channel. If the column was much heavier we would have performed the lift differently. It was placed on top of the base (be sure to clean the base and bottom of the column of debris and rust, grease, etc.) and the four grade 8 bolts were torqued down. Head re-assembly is the only challenging part of this process. But first, we lift the head into position using the same lifting strap and rope.
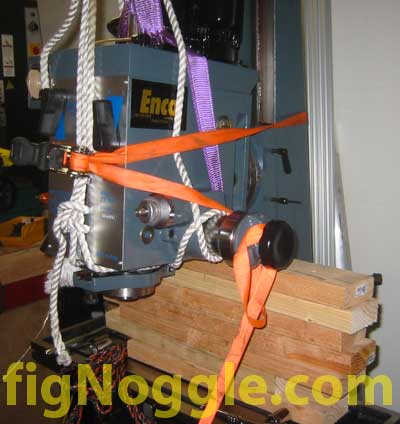
Once the head was placed close to the column and the three bolts were lined up with the head (this takes time with only one person), we used a ratcheting strap (the bright orange one from Home Depot) to pull the head closer to the column. It is at this time that the bolts can start moving about in non-centered ways and preventing the head from "slipping onto" the botls for mounting to the column:
What we ended up doing was to place a bunch of 2"x4" scraps underneath the head (note that we avoided the quill). Doing this allows the head to be lowered onto the wood blocks and sit perpendicular to the column. The Z-axis crank handle was then used to raise/lower the mounting plate unti the bolts lined up with the holes in the head. If you leave the engine hoists' straps taught with the head, it will most likely tilt the head in various directions making re-assembly of the head and column difficult. Before we get into the closer inspection of the mill, here are some pictures you might enjoy. This picture shows the scale of the X2, X3 and RF45 mills. Notice the mass of the RF45 over the X3 (located in green on the workbench).
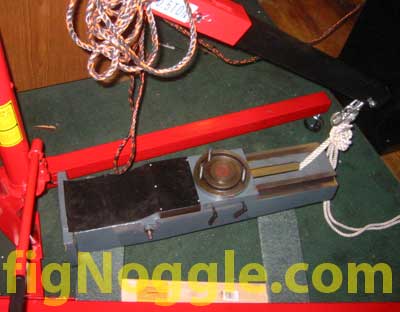
And another shot from a perspective view. Here you can see that we can finally mount the Kurt D675 6" vise weighing in at around 80# on the table of the RF45 mill/drill.
One final view - this time of the heads. Here you can see that the geared head of the RF45 is much larger than the X2's and X3's.
Let's take a closer inspection of the Enco RF45 Mill/Drill. Enjoy! |


Looking for mini-mill help and how-tos? How about lathe help and how-tos?
We're prototyping a benchtop CNC vertical mill using the DigiSpeed-XL interface card for Mach, Dart Controls and KB Electronics KBIC/KBMM 90VDC motor controllers, 1.5HP treadmill motor from Surplus Center and a R8-spindle head from the X2 mini-mill - not to mention Gecko servo drives and an entirely closed-loop system. Come take a look!CNC 8x12 Lathe
Check out our newest developments like the CNC/DRO 8x12/8x14 lathe using Gecko drives, break-out board, NEMA 34 step motors, DRO and more!
SUPERX3.COM
Sieg X3 and Super X3 Grizzly G0463 Info
MDAHacks.com
T-Mobile MDA / Cingular 8125 / HTC Wizard Hacks, Tweaks, Tips, Tricks and More!
Metal Working FAQ.NET
Your source for metalworking and machining, tips, tricks, and more. Over 50 content wiki sites!