
Copyright 2011. figNoggle Designs.
7x10, 7x12, 7x14 Mini-Lathe Information
Website Links
Post a link to your website or view other hobby and machine and metalworking websites for free.
|
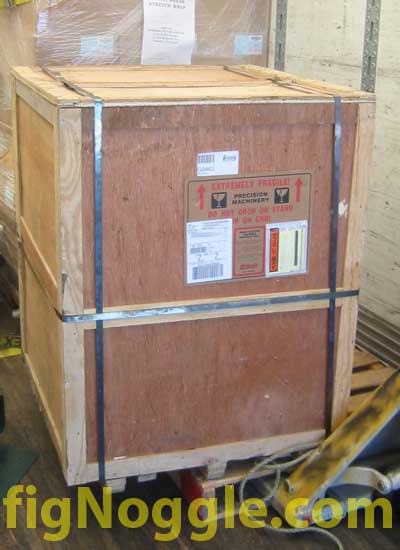
Rent Mill & Lathe DVDs at Smartflix | Great aluminum & steel prices at OnlineMetals First Look At The X3 Mill (Grizzly G0463) Just as we did with the 8x12 mini-lathe, we took pictures of the machine as it was being delivered and offloaded by the truck (in that case, it was the forklift).
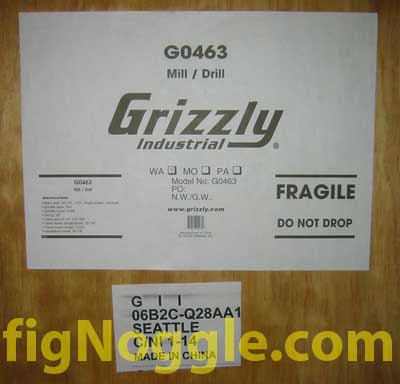
This mill, while smaller compared to even the Rong-Fu mills, was still heavy - weighing in at around 450 lbs. It took the driver and one of us to tilt the crate off the pallet and onto the hand dolly. Once on the dolly, upright, we strapped it into place and then rolled it to the lift gate and onto the street level. We then laid the crate on its side (you probably, shouldn't do this if at all possible since the mill is only bolted to the crate at two corners (you'll see this later). It took some maneuvering through the doorways as the crate's widest point just cleared the door frames. It was actually fairly easy to maneuver with two people. One person would have been a challenge. More than two people would be overkill. Here are some pictures of the labels on the crate:
Looks like this mill came in from the Seattle port?
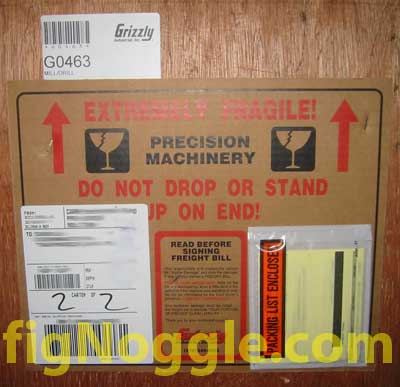
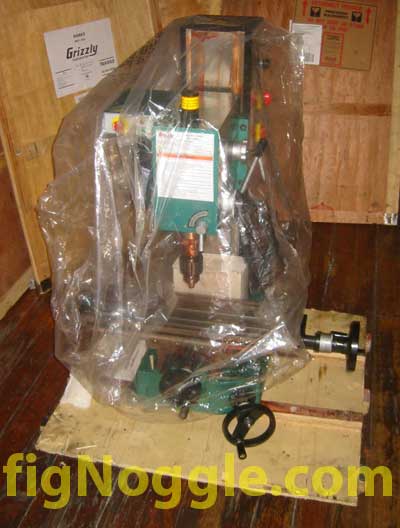
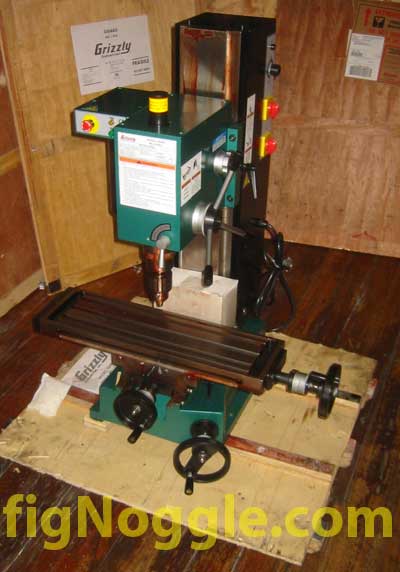
We didn't notice the "Read before signing freight bill" notice on the cardboard, but it looks like sound advice: "Your responsibility is to inspect the cartons for 'Visible Damage' and note the damage, if any, on your carrier's FREIGHT BILL. THIS IS VERY IMPORTANT! Note on the bill any discrepancy, even a little dent in the carton or if the machine was standing on its end. Do not be intimidated by the truck driver's presence - INSPECT THOROUGHLY! Any container damage must be noted the freight bill to exclude YOUR PORTION OF FREIGHT CLAIM LIABILITY. Thank you for your continued support." Now, on to the machine! Here's the mill uncrated, on its slid, stilled covered by the plastic bag.
Even with that little desicant bag (see it at the lower left corner of the mill?) couldn't have possibly prevented a ship's sea journey, could it? The mill was clean and not moldy. We were lucky here. No rust was present. And now, unbagged:
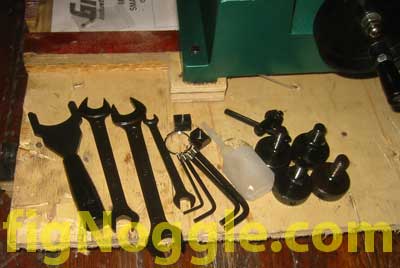
The finish of the Grizzly machine is definitely "cleaner" than the Harbor Freight version of boxed machinery. Perhaps Sieg had to "perform to spec" on this one. The fit and finish was pretty clean. The little box behind the table came with some accessories; nothing fancy, just some of the cheap blackened wrenches, t-nuts (2), plastic drip bottle (which will break within its first few uses :), leveling feet (4), timing belt and pin wrench.
Here's a look at the timing belt (it was nice of them to give a replacement belt):
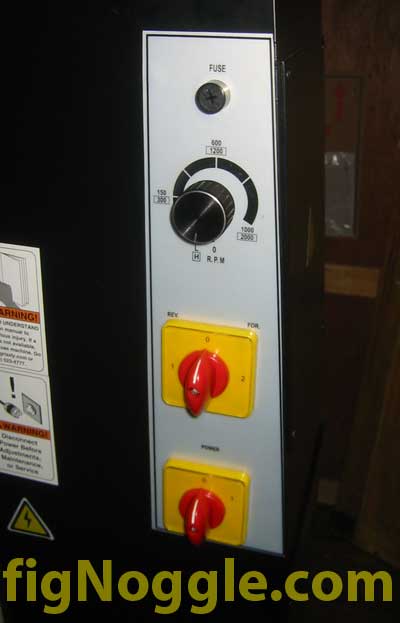
Made by "The Great Wall Tape-Making Co", it's a size 2x65. Here's a closer look at the head. The e-stop switch is just that, nothing more. The fault light comes on when you switch from forward to reverse and vise versa. Do this only with the mill stopped. The power LED is pretty self-explanatory.
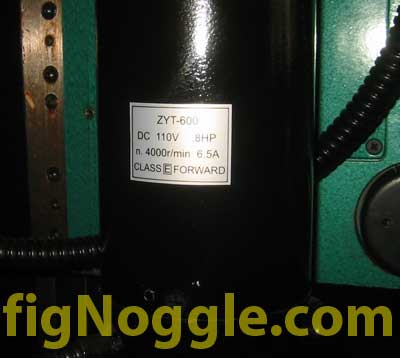
Just underneath the e-stop switch and indicator light panel, we see the motor. It's a 600 DC100V 0.8HP 4000rpm 6.5A motor. Note that it's a reversible motor. We'll get to that a little later.
Now, let's take a closer look at the sticker on the front of the head:
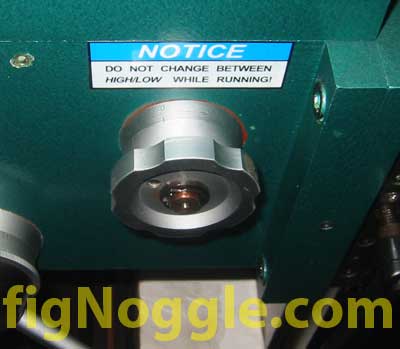
Our mill was made in November 2006. It looks like there's plenty of inventory at Grizzly.. On the right side of the head, we have the High/Low gear selector knob. Not much to comment on here except for what's mentioned on the sticker.
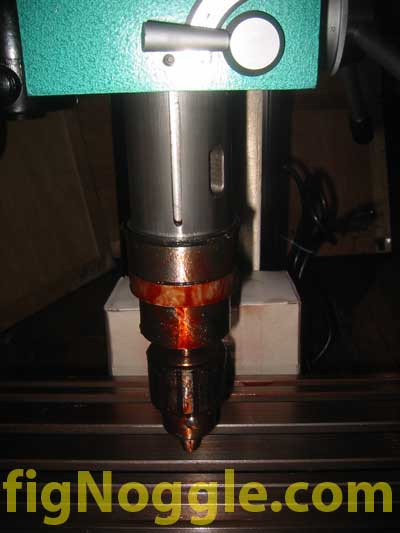
Making our way underneath, we've extended the quill so you can take a closer look:
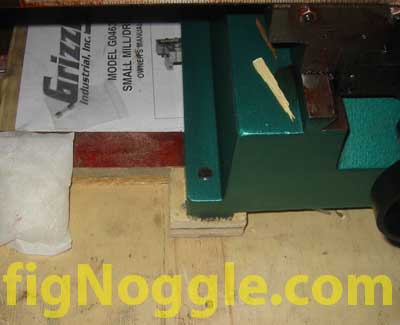
It's nice to have a quill feed on this sized mill. This should make drilling much easier (in conjunction with the dovetail column). As you can see, the red gunk is still all over the place. Looking at the left side of the table, we notice that (aside from more of the red gunk), the trough is nicely sized for chip collection. There's a little screw on the back side (like on the large mills) that stops the hole to avoid coolant drip to the table.
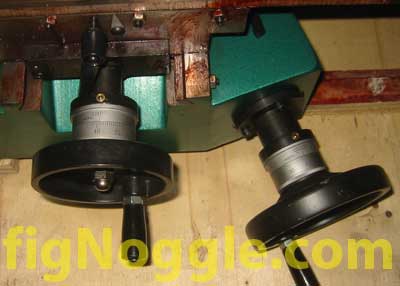
Looking now at the front of the mill, we can see two handles. The one cocked to the side is strange, isn't it? It's the Z-axis handwheel. Its diameter goes beyond the base of the mill, hence the feet levelers. If you install this on a bench you'll want to make sure you account for this. Otherwise, you won't be able to crank the Z-axis handwheel!
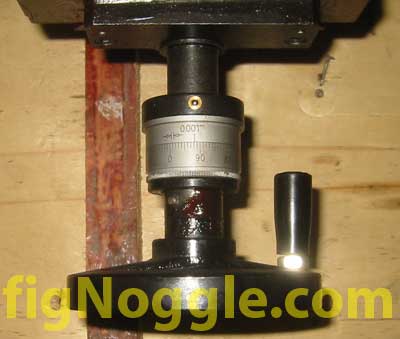
As you would imagine, the Z-axis handwheel cranks easier while lowering the head. Raising the head takes a bit more oomph. Not only that, each tick of the handwheel is only 0.0005"! That's a lot of hand cranking to move the head. The Y axis uses "true inch" leadscrews and the dial shows 0.001" per tick. It looked like the Y-axis has roughly 5 thou of backlash. Both felt very smooth to the touch. The X-axis was also nicely tuned. Wtih less than 5 thous of backlash (probably 3-4) as determined by a simple visual inspection (using a DRO or plunge-style dial indicator) would be more accurate, but we'll get to that later.
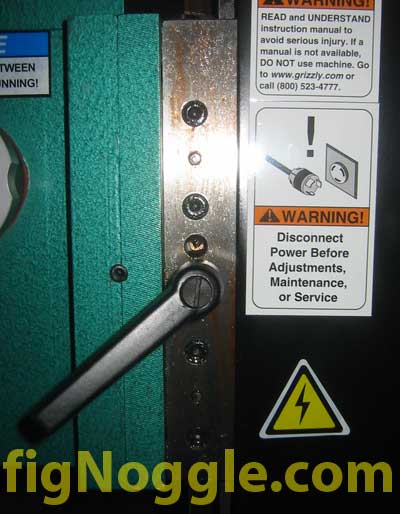
Also note that there's a castle-nut on the handwheel to engage/disengage. This is similar to the Rong-Fu style mills. The X-axis also uses 0.001" ticks for the "true inch" reads. The knob is backwards from the factory so that it doesn't get broken off in transit. Let's now focus on the Z-axis. The beauty of this small mill is that it uses a dovetail column as opposed to the round column. This eliminates the problem of losing an X-Y coordinate should you need to move the head up/down. Even with the quill travel, you may at times need to still adjust the head height. With the increased Z-axis travel over the X2 mill, it will be easier to use reamers and jobber-length drill bits if the need arises. Here's a picture of the Z-axis gib lock lever and adjuster set screws. Also note to the left of that the solitary set screw; it's for adjusting the head somehow? There's one of the other side of the head...
By now you may have noticed all the warning stickers all over the mill - there's more to come! Moving towards the back of the column is a boxy, black, sheet metal "column". This houses all the electrical components and wiring, including the Forward/Reverse switch, On/Off switch and motor speed controller and fuse holder. For those used to using the X2 mini-mill or larger RF-45 mills, this may take some getting used to.
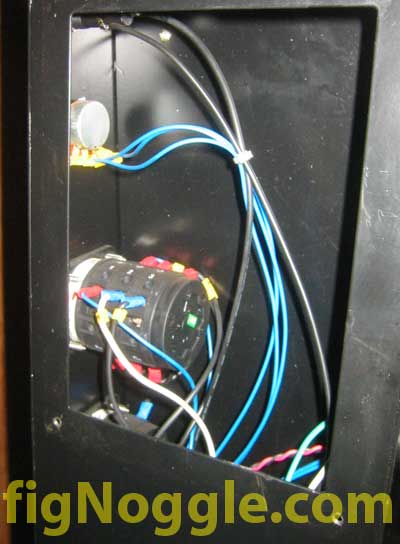
The back of the sheet metal box column has two panels (not shown) both with the electrical-danger stickers on them. Removing them shows the internal wiring for the switches and speed control:
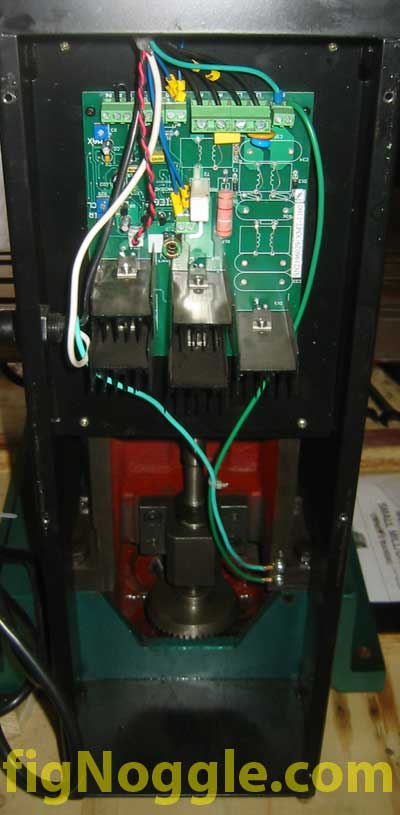
And the bottom section shows the control board and beneath that, the right angle gearing of the Z-axis that feeds the main leadscrew from the Z-axis handle:
That's the basic run-down of the "first look". We hope you've enjoyed this pictorial. Stay tuned for more on this mill, including CNC, DRO, plans, and kits! Oh, one more thing, this mill is bolted down the skid at two points, so please don't tilt the crate all over the place like we did. Your results may vary..
Take a look at us moving the X3 mill with a 2-ton foldable shop crane. (And see the X2 and X3 mills side by side). Go back to the main X3 mill index or visit SuperX3.com. Enjoy! |


Looking for mini-mill help and how-tos? How about lathe help and how-tos?
We're prototyping a benchtop CNC vertical mill using the DigiSpeed-XL interface card for Mach, Dart Controls and KB Electronics KBIC/KBMM 90VDC motor controllers, 1.5HP treadmill motor from Surplus Center and a R8-spindle head from the X2 mini-mill - not to mention Gecko servo drives and an entirely closed-loop system. Come take a look!CNC 8x12 Lathe
Check out our newest developments like the CNC/DRO 8x12/8x14 lathe using Gecko drives, break-out board, NEMA 34 step motors, DRO and more!
SUPERX3.COM
Sieg X3 and Super X3 Grizzly G0463 Info
MDAHacks.com
T-Mobile MDA / Cingular 8125 / HTC Wizard Hacks, Tweaks, Tips, Tricks and More!
Metal Working FAQ.NET
Your source for metalworking and machining, tips, tricks, and more. Over 50 content wiki sites!