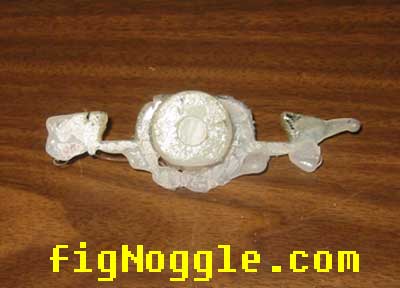
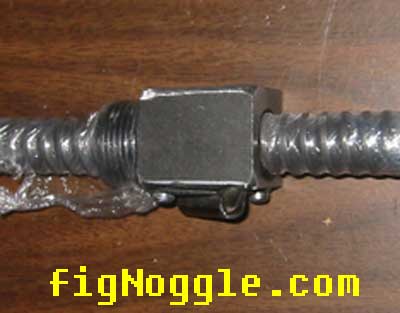
| the anatomy of a ballnut |
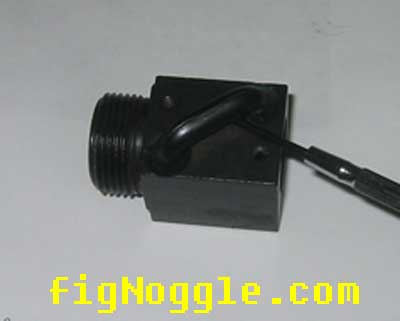
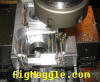
| this is non-preloaded (standard, plain) ballnut from thomson/danaher
purchased from mscdirect.
any catalog selling motion products will have
these.
this picture is of the housing only. if you see a ballnut like this it
means that the balls on the inside have been removed (and hopefully not
all over your floor!) |
 |
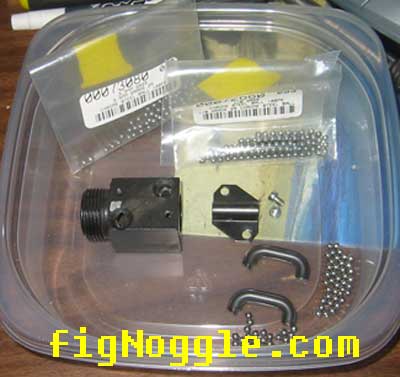
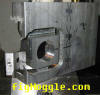
| here you go. all the pieces.
the two "c" shaped pieces are the two
halves of the bearing race/guide that allows for recirculation of the
chrome balls. they happen to be 0.1245" dia.
the two bags are of the same grade chrome balls - one set is 1/8"
(0.1250" dia.) and the other is 3.5mm (.1379" dia.) intended for
oversizing thereby reducing backlash. |
 |
| turning a ballscrew and preparing the X-axis installation. |
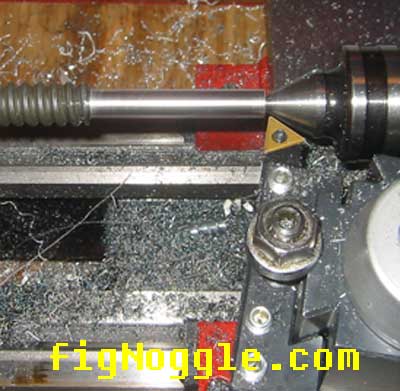
| here's a turned shaft of the ballscrew.
they are hardened and are tough
on the cutting tools. |
 |
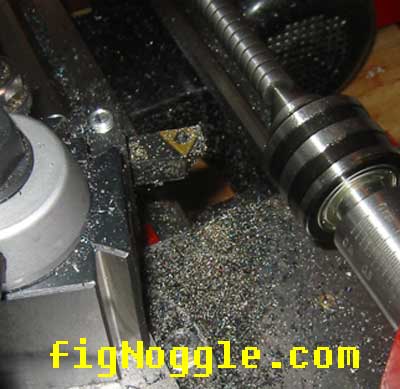
| notice the small chips. these were made at light cuts.
the bottom pile are too hot which were made at a high rpm (and a
dulling bit) while the top pile is a better color. |
 |
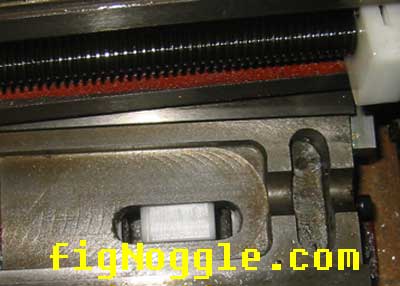
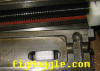
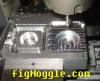
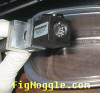
| here's a snapshot of the carriage. there's very little room to work with.
note the two acetal
anti-backlash nuts currently in there. |
 |
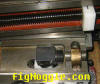
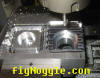
| here we're laying out the best positioning of the ballnut.
again, we're
trying to maintain as much travel as possible. |
 |
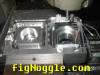
| an axial view. this is going to be a tight fit! |
 |
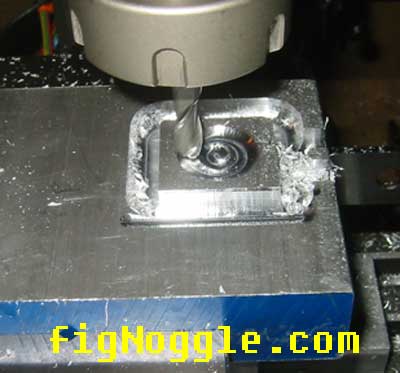
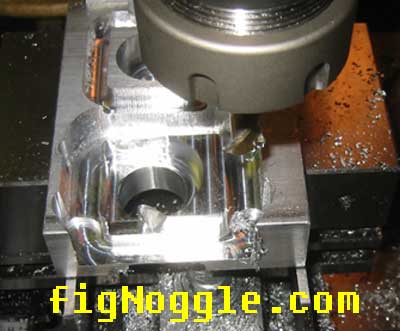
| making a ballnut flange (with the cnc converted mini mill) |
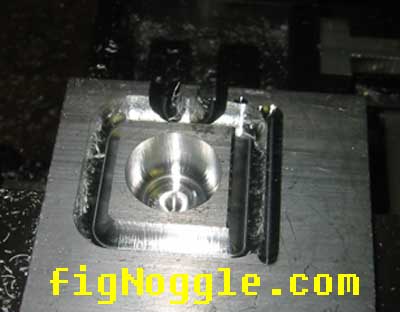
| a prototype nut being cnc milled. this is the pocket for the thread of the
ballnut. |
 |
| here's a quick clip of a 0.020" depth of cut at 15ipm
1/4" ball end mill at ~1000rpm. |
click to see
video |
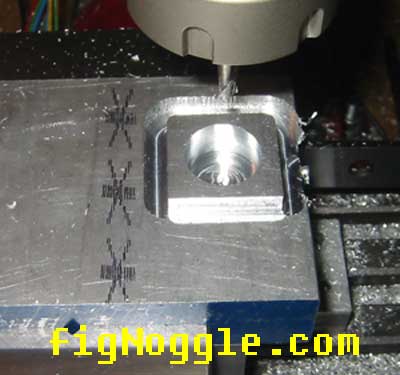
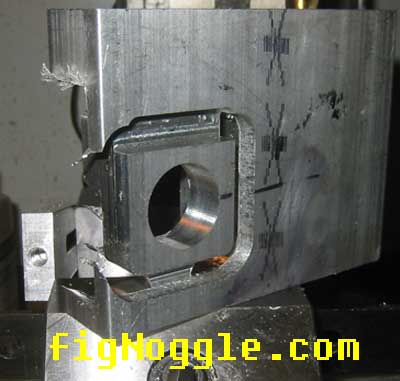
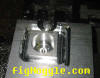
| the hole has been milled. note the circle - no backlash artifacts
detectable with the eye!
well, turns out the
cutter was a 5/16" when it was supposed to be a 1/4"! oops! |
 |
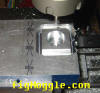
| here we go again...
same as before, no discernable backlash artifacts on the pocket hole for
the ballnut thread |
 |
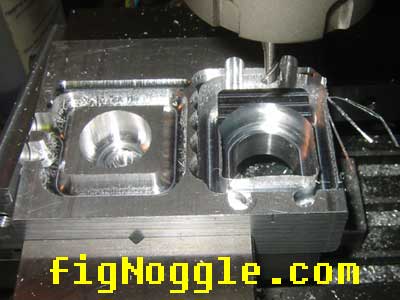
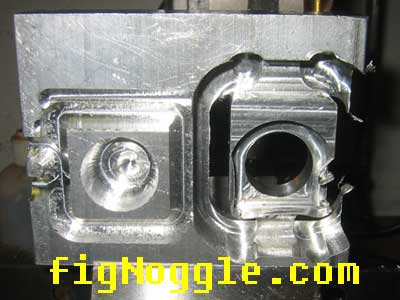
| note the oops on the left.
here we're facing at 0.030" depth of cut this time
around. |
 |
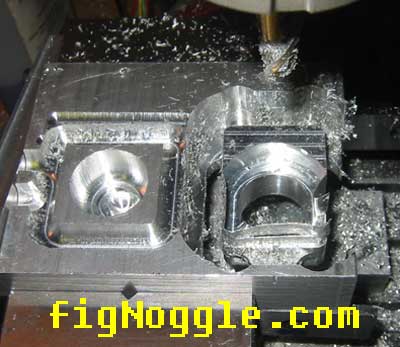
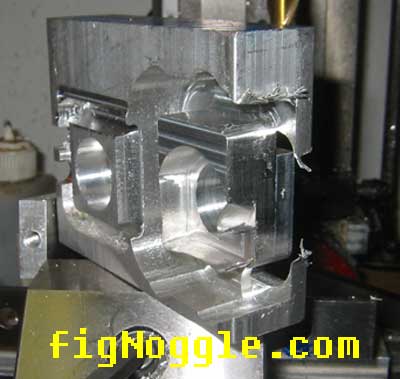
| after a face and another pocket cut on the other side
of the flange. |
 |
| the z was probably 0.001" off since the plug was
removed by simply pushing it through. |
 |
| now we've contoured the entire nut flange with the
1/4" 2 flute hss end mill. |
 |
| the cutter wasn't long enough so we had to redo the
contour with a 7/16" end mill bit.
every time a plunge
cut was made at 0.030" the table wobbled aggressively (a ball end
mill would have been a better choice of cutter in this case, but would
require a deeper cut to compensate for the radius of the tip).
this caused the motor to stall twice and "lost
steps". all was not lost. we just re-zeroed the spindle using the dro mounted on the mill (not the
control software's) and started from the last depth. |
 |
| it's almost done! there are two "webs" or remaining
stock left to hold the piece in place.
we'll
take this off the mill and trim it with a bandsaw, then face it manually
to finish it. |
 |
| remember the motor stalling? the first time it
happened, it was here... |
 |
| here you can see a longer video of combined milling
operations with the two cutters performing the operations mentioned above. |
click here to see
video |
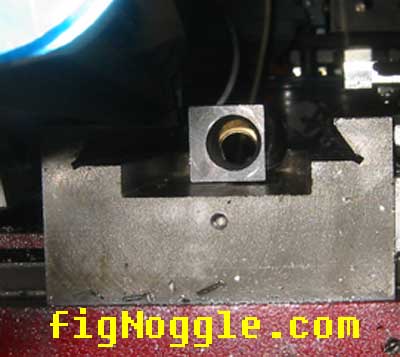
| here's the first (back) side |
 |
| and the front side |
 |
| a perspective shot showing why the piece had to be
flipped over.
more to come.. |
 |
| how to reball the ballnuts to get better accuracy
(e.g. reduce backlash!) |
| before we continue, here's a quick tip. if you have a
glue gun in your shop, you can use it to quickly get dimensions of the
thing you're working on.
this is the glue
gun negative of the mini mill table. this gives us an idea of the
dimensions we're working with... |
 |
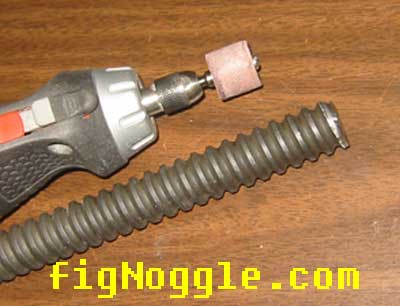
| one more thing. turning, grinding ballscrew material
is tough stuff. this is a "dremel" sanding bit that lasted all of less
than 1 minute of use.
supposedly the
ballscrew is 4140 alloy steel that's hardened. it's very tough on your
cutting bits for sure. |
 |
| ok. here we go into "reballing" standard
non-preloaded ballnuts.
why? this is an
inexpensive way to address backlash in ballnuts. this is an effective way
for machines with limited space (such as the x2 mini mill)/.
this picture shows a short piece of ballscrew to
act as the jig to maintain proper hold for the grade 25 chrome steel
balls.
the first step is to thread the ballscrew (no
balls yet) into the nut just up to the top of the race finger (that makes
sure the balls don't fall out all over the place).
then drop a few balls into the cavity.
btw, the stock balls are 0.1245" dia.
we reball to 0.125" dia. but 0.126" should yield
better results. |
 |
| after that, push your finger down into the top of the
ballscrew while you thread the ballscrew toward your finger to force the
balls into the race and back into the threads below. |
 |
| look at the ball at the top. this is not good. the
balls need to be between the fingers that make sure the balls don't
escape.
after a few minutes, you'll get all
50+ balls back into the nut. |
 |
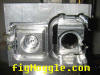
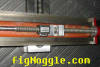
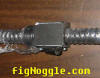
| test fitting of the ballscrew upgrade |
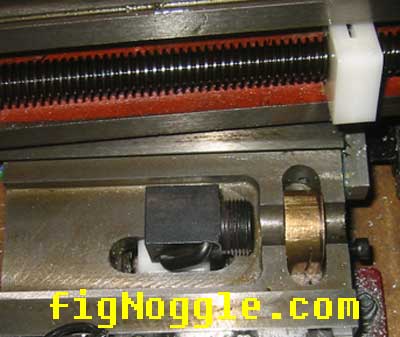
| here's the ballscrew, ballnut, and flange installed
within the table cavity of the x2 sieg mini mill. |
 |
| here's a long shot. note the clearance of the ballnut
with the saddle/carriage. it's close! |
 |
| in the middle of travel no problems. however, at the
extremes of travel X+, X-, the ballnut's edges scrape the underside of the
table. |
 |
| the simple, quick and only fix is to round the edges
with a grinder.
these ballnuts are hardened
as well. do not mill them! use a die grinder (even a file is no use) to
soften the edges.
more to come...
we're almost ready to offer the plans!
we'll offer the acme leadscrew/acetal nut and
ballscrew/ballnut kits as well as the plans as soon as we're happy with
the results. almost there! |
 |